Alexander Westwater
Game & Level Designer
Sword in the Stone
Personal Work based on a quest that happens in my tale-top role playing campaign "Demigods".
This was quite an interesting project to take on as it utilized some props and textures to speed up the process and I learned here that you don't have to reinvent the wheel. This project is the one where I have actually conceptualized UVs properly. I also learned some advanced modeling techniques to model the sword and learnt how to enhance the look of my model with texture painting and with different shading techniques. My main focus on this project was to work on compositing to create a unique look that I envisioned. I realized the power of node editor for compositing in blender and I am really happy with how my final renders look. I utilized Mixamo for a quick character and walking animation to place in the scene to make it look for cinematic. I rendered a bunch of shots and edited the final presentation.
Screenshots


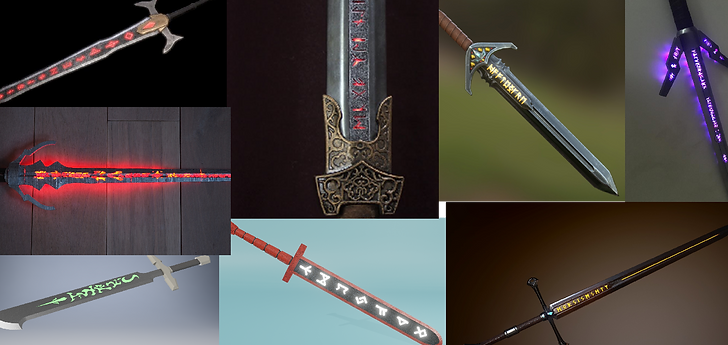
Moodboards
Grabbed some reference images for the sword in the stone and the type of sword itself

Process
This section shows my process on how I created this scene
Primitive Shapes
Started piecing together simple shapes, I added cylinder meshes to form the handle, guard and pommel then I used a square mesh for the blade.

Adding Detail
Added some details on the handle by adding loop cuts then used subdivision modifier and bevels to smooth it out

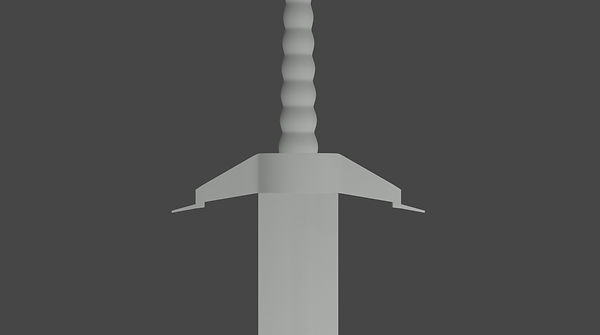
Extruded the guard and added Subdivision and bevel modifiers to smooth it out on one side then added a mirror modifier along the x-axis so another the guard appears on the other side. I also added some holding edges with loop cut so the shape can hold its form.

Added Torus meshes for the ring shape on the ends of the pommel, used extrudes and insets on the pommel to give it it’s shape, added subdivision modifier for smoothness and applied loop cuts to hold the edges and maintain the pommels shape.
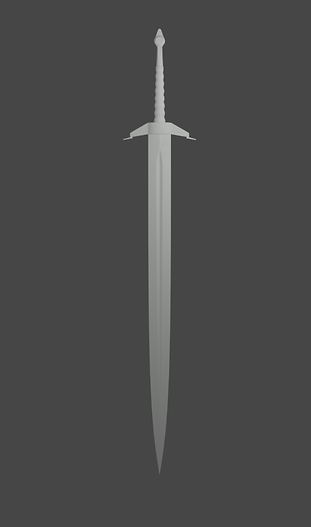
Merged the vertices on the top and bottom parts of the blade to give that thin sharp look and scaled the tip of the blade for the sharp edge.
Added loop cuts and scaled the vertices to add the groove and sharpen the edges. Added a bevel and subdivision modifiers to smooth out the blade.
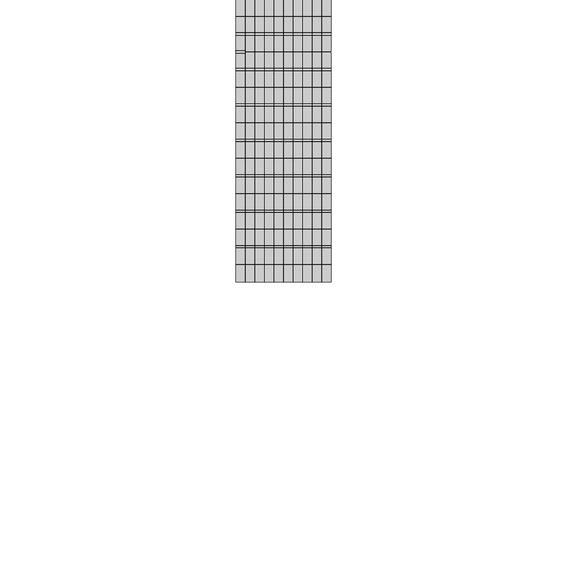
UVs
Wrapped the UVs for each part of the sword (handle, guard, pommel and blade). Used a checkerboard texture to help me make sure the all checkerboard patterns are as square as possible. The UV for the blade has huge squares compared to the rest of pics because it didn’t need to be perfect for my intended vision.
Handle UV

Guard UV


Pommel UV


Pommel UV
Blade UV


Created shaders for each part of the sword using these textures.

Scratches

Lead Plate
Runes
Added a bloom effect and tiles the rune texture so it fits onto the blade.


Textures and shaders
Effects
Used an HDRI image, blurred the background and changed the background colour to blue to complement the orange glow on the sword.


Dressing the Scene
Placed rocks around the scene to make a cave.

Atmosphere & Lighting
Added a fog effect, a light source, I had to play around with the rocks to get the lighting just right, the light is pouring into to scene from the right side, I had to move some rocks around to paint the scene with light and shadows. Added a volume scatter to create a light shaft then I tweaked the bloom and depth of field until I felt happy with the result.


Camera
Added a simple vertical camera animation that moves from the bottom of the sword to the top.
Particle Effects
Added some simple particle effects to give the scene some dust.
Mixamo and second camera shot
Grabbed a knight character from Mixamo and a stop walking animation, I placed the knight in the scene and set up a second camera that moves horizontal starting from behind the knight which shows the knight walking up to the sword then ends with both the knight and sword in the shot. Also added an animation where the glow turns off near the end of the animation.
Finally I set up some more shots and edited them together for the final presentation.
Final Presentation